Table of Contents
- Transform Your Space with Decorative Plaster Walls – Decor
- Find The Best Venetian Plaster Walls for Interiors and Exteriors ...
- Skim coating plaster walls hi-res stock photography and images - Alamy
- Wallgrace Wall Coating Wall Covering Silk Plaster Liquid Wallpaper ...
- How to float plaster? - Wonkee Donkee Tools
- How to Skim Coat Walls (DIY) | Family Handyman
- H209 silk plaster, liquid wallpaper, wall coating ... – Vicedeal
- Tổng quan về decorative plaster và cách sử dụng trong trang trí nội thất
- House Interior Wall Paint Stucco Decorative Stucco Plaster Wall Coating ...
- Peeling Paint Texture Peeling Paint Texture Texture P - vrogue.co

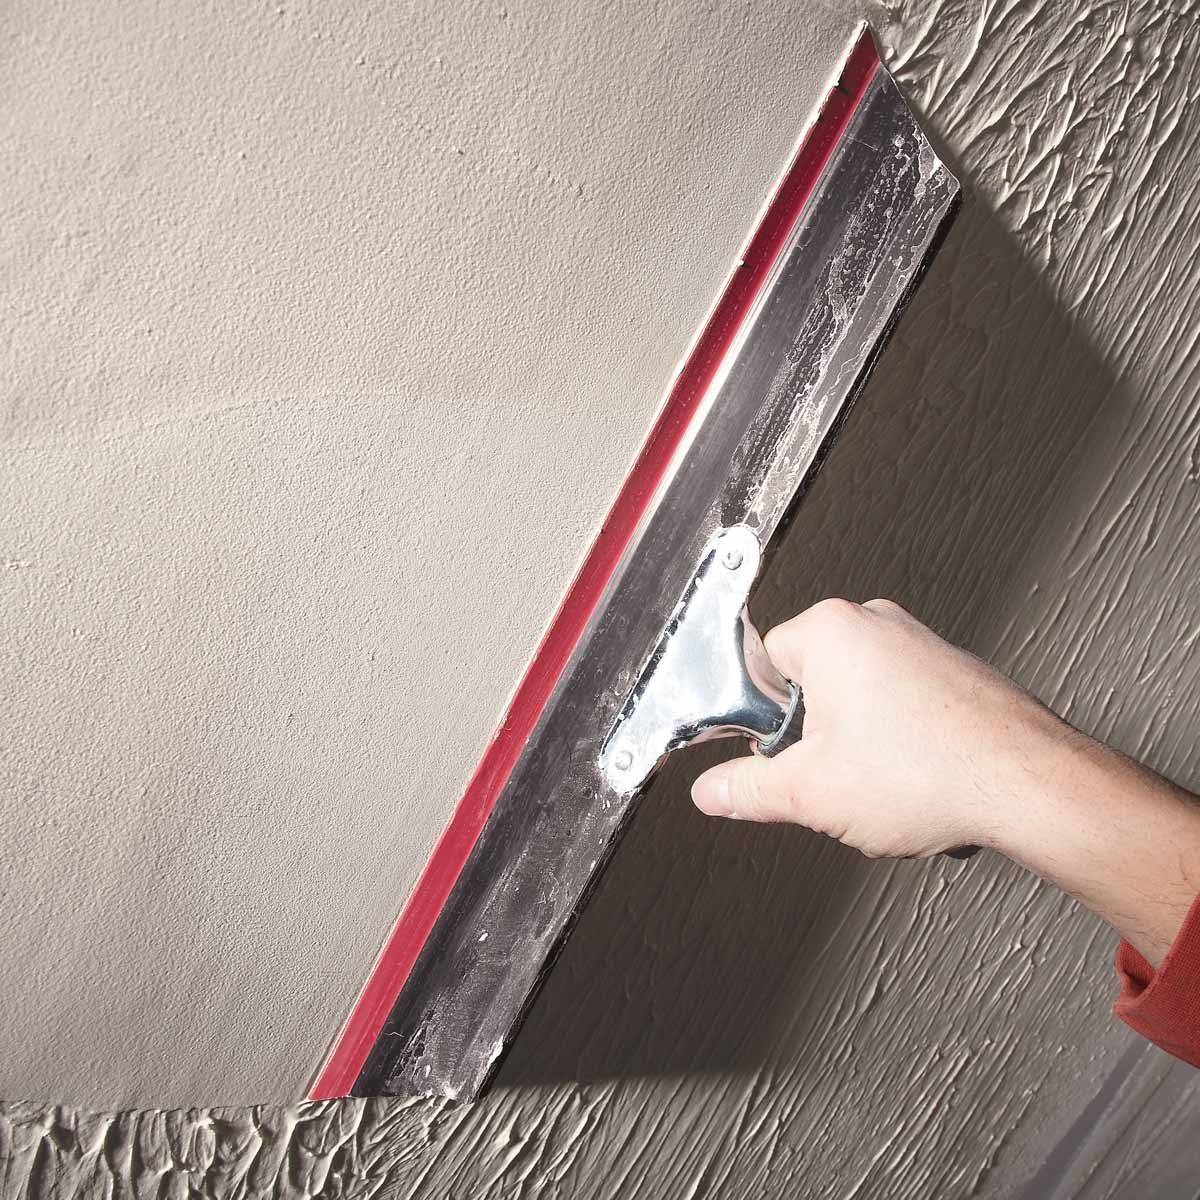
What is Skim Coat Plastering?

Materials Needed


Step-by-Step Instructions
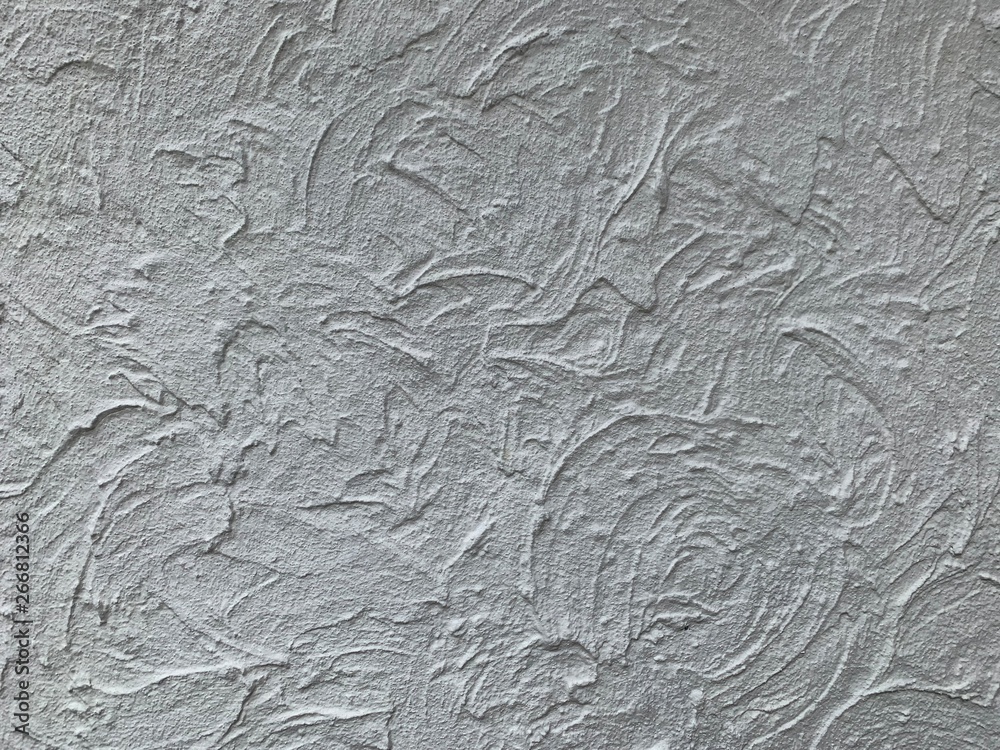
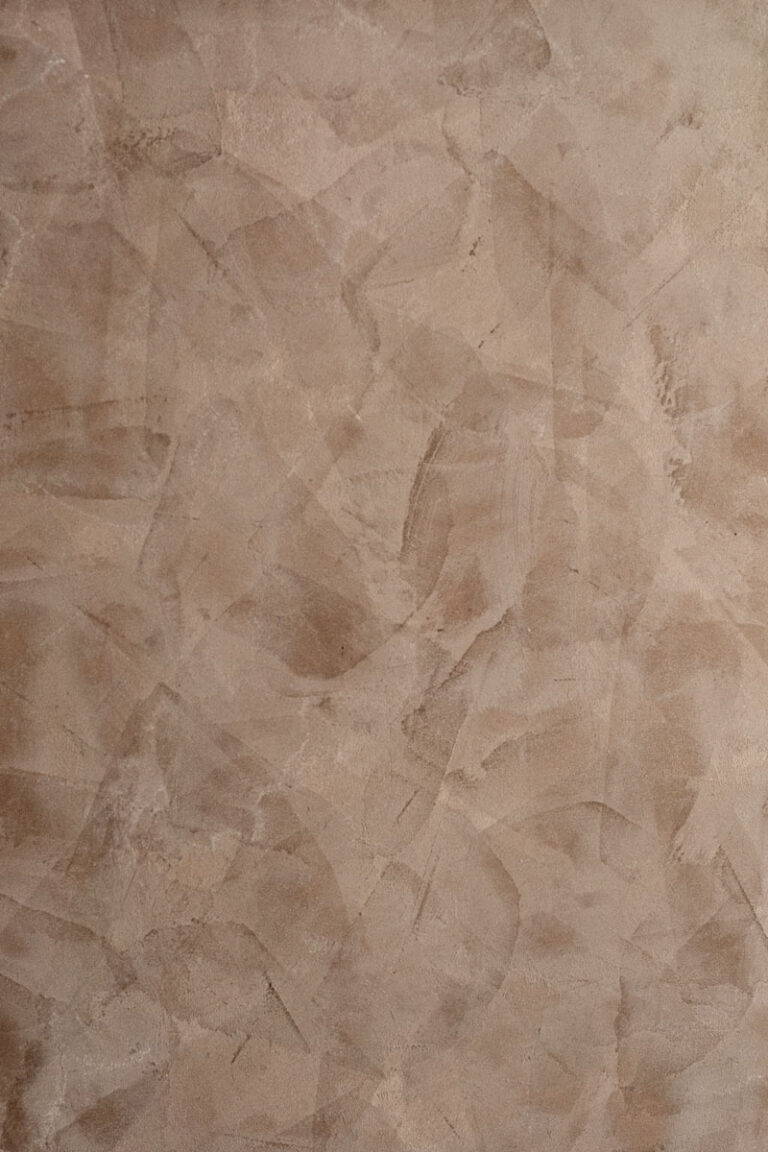
1. Prepare the Surface: Clean the wall or ceiling thoroughly, removing any dirt, dust, or grease. Fix any cracks or holes with a patching compound and sand smooth. 2. Mix the Plaster: Follow the manufacturer's instructions to mix the skim coat plaster with water. The mixture should be smooth and free of lumps. 3. Apply the Plaster: Use a trowel or putty knife to apply the plaster mixture to the surface, spreading it evenly and smoothly. Work in small sections, about 4 feet by 4 feet. 4. Smooth Out the Plaster: Use a trowel or putty knife to smooth out the plaster, feathering it out towards the edges. Use a sanding block or sandpaper to remove any excess plaster and smooth out the surface. 5. Allow to Dry: Let the plaster dry completely, according to the manufacturer's instructions. This can take anywhere from 30 minutes to an hour, depending on the type of plaster and environmental conditions. 6. Sand and Paint: Once the plaster is dry, use a sanding block or sandpaper to smooth out the surface. Wipe away any dust or debris and apply a coat of paint or finish.
Expert Tips from Bob Vila
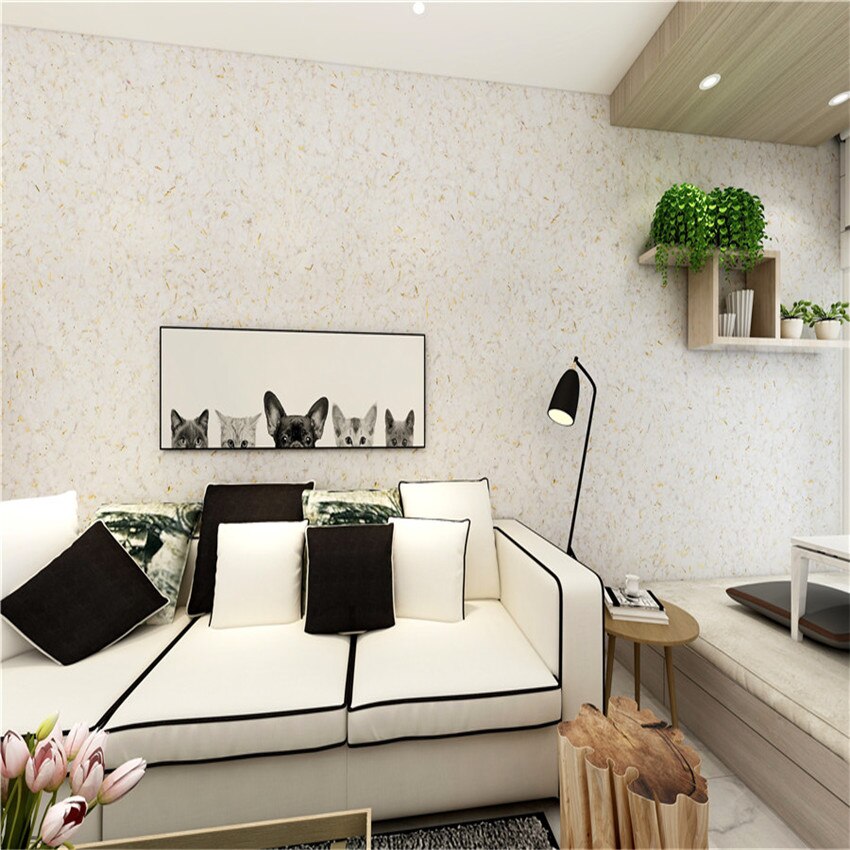
According to Bob Vila, "Skim coat plastering is a great way to give your walls a smooth and even finish, but it's essential to prepare the surface properly and apply the plaster in thin layers, allowing each layer to dry before applying the next." He also recommends using a high-quality plaster mix and following the manufacturer's instructions for mixing and application. Skim coat plastering is a DIY-friendly project that can give your walls a smooth and even finish. By following the steps outlined in this guide and taking expert advice from Bob Vila, you'll be able to achieve professional-looking results. Remember to prepare the surface properly, apply the plaster in thin layers, and allow each layer to dry before applying the next. With patience and practice, you'll be a skim coat plastering pro in no time!Keywords: skim coat plastering, DIY guide, Bob Vila, plastering techniques, wall finishing, home improvement, DIY projects.